021 551 2060

Every professional website that wants to rank on search engines or increase conversions needs a personalized error 404 page. Whether it be from an update to the website or an incorrectly typed URL, the 404 page will show up which is why having one is so important.
A well designed 404 page can save your user experience (UX), help your SEO and can even be a lot of fun when combined with your brand personality. In this article, we are going to cover what a 404 page is and why having a personal one is important for your business website. If you want to learn how to solve 404 errors that are occurring on your WordPress website, read our blog post about WordPress HTTP error codes.
What a 404 page is and why your website needs one.
A 404 page is what shows up when a URL doesn’t lead to an existing web page. This could happen for any number of reasons from avoidable mistakes like deleting a web page without redirecting it to unavoidable human error like making a typo with the URL. If your website draws a lot of traffic, it’s because the causes are so varies that avoiding 404 error pages becomes almost impossible.
A tempting solution to this is simple redirecting all 404 errors back to your homepage. While getting rid of any chance of a client landing on a 404 page sounds good, it’s actually the opposite of what you should be doing.
Redirecting back to your home page can result in bad user experience (UX). Imagine you type a URL in expecting to learn about a product but you land on the home page of a company. You no longer know why you didn’t get what you want and are now forced to navigate the whole website to get to where you want to be. This situation is horrible for your business website’s bounce rate.
This doesn’t mean that all redirecting is bad. If you can redirect a known 404 error to a relevant page, your website will be all the better for it. Read our article on WordPress error pages to find out how to solve known 404 errors this way.

Here is why your website needs a 404 page of its own.
Landing on a 404 page is frustrating for users which leads to bad UX. If you don’t have one, your potential clients will likely get the browser’s default page which does you no service. So, what’s the solution to all this?
The purpose of your 404 page is to turn negative UX into a positive one. There are many ways in which we can do this and we have boiled them down into four categories.
Fix the bad UX with good UX.
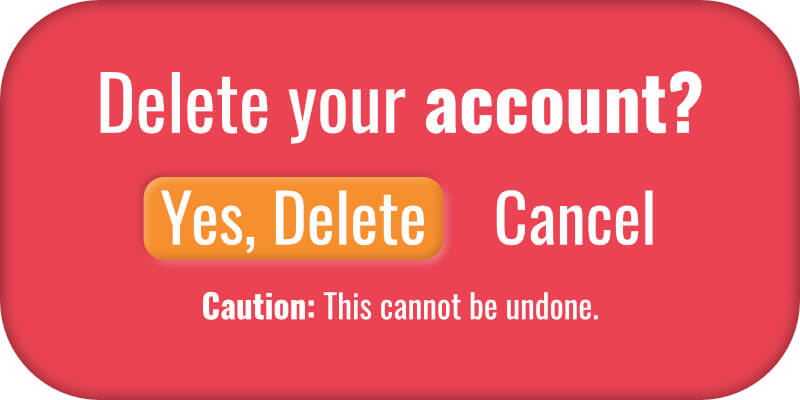
This first step is the equivalent of fighting fire with fire. Your clients are having bad UX when landing on a 404 page, so replace the bad page with a 404 page that has good UX.
First and foremost, a 404 page that has good UX design needs to explain to the user why they have landed here and not on their desired page. This will end a lot of confusion.
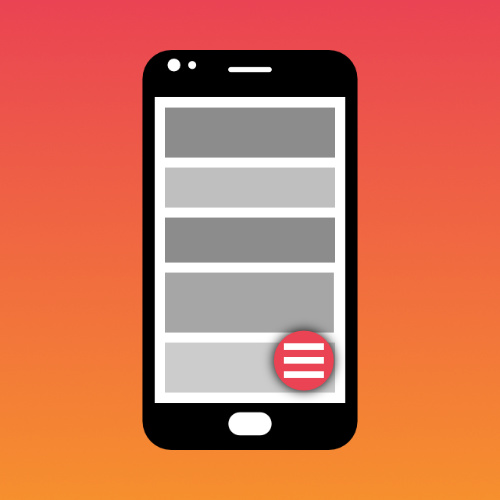
So now that the user knows why they are here, we need to give them somewhere to go to get their desired result. We can use links and instructions to accomplish this. These should lead the user to a place that they can find helpful information or an easy way to navigate your website.
Some great places that you can direct and link to include the menu, blog, HTML sitemap, search bar and the home page. While redirecting to your homepage isn’t ideal, a link back to it is perfect. To help you out, adding a way for the user to report the 404 page can be very helpful in stopping this problem from happening again.
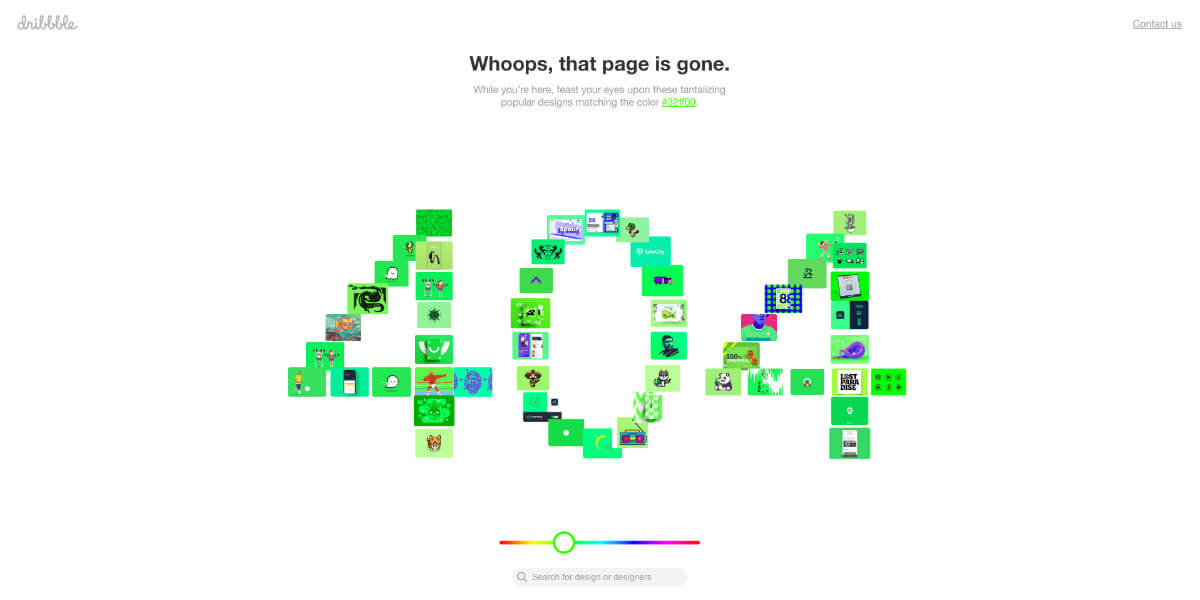
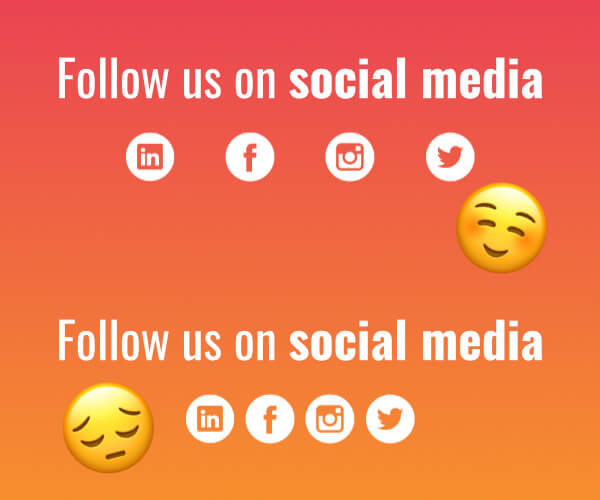
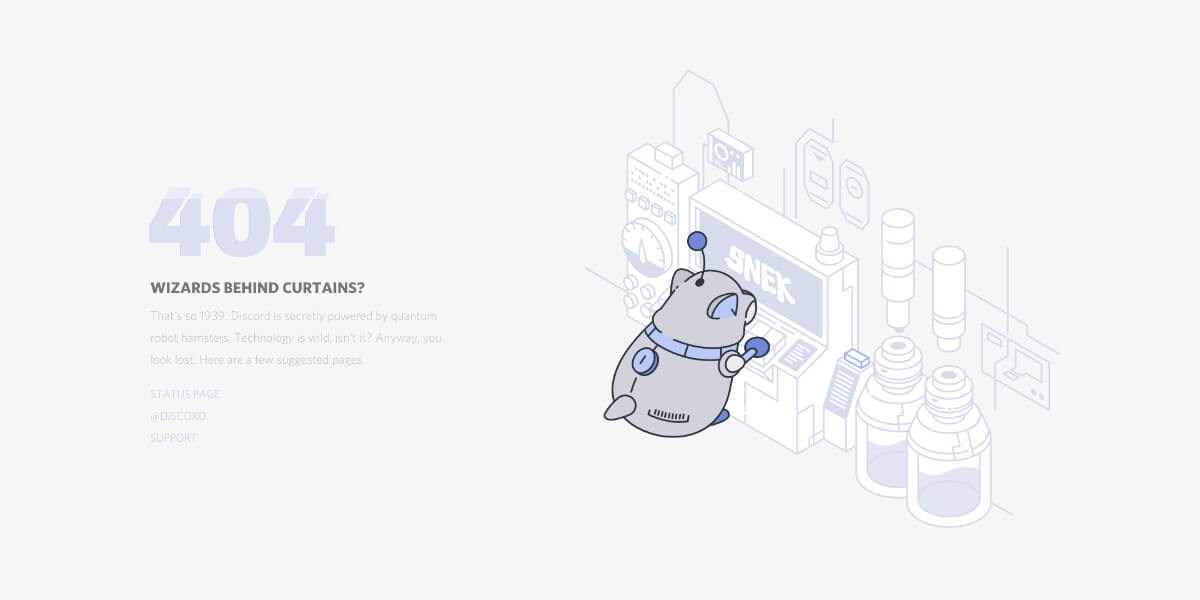
Add your brands personality.
A 404 page is the perfect place to reinforce your branding and personality. By turning the 404 page into something that speaks for your brand, your clients that land here can be reintroduced to your brand’s core message. Done right and your 404 page will help build brand trust and be a page that clients might even enjoy.
Allow search engines to continue crawling.
Search engines crawl your website by following links to all the different pages on your site. This in unfortunate if your business website doesn’t have 404 page that does that because then the search engine is forced to stop. It will get as lost as your users will which means your website won’t rank on the search engine result page (SERP).
When you have your own 404 page that includes links to assist your clients, search engines will be able to navigate away from them too. Avoiding negative search engine optimisation (SEO).
Keep it simple for the best results.
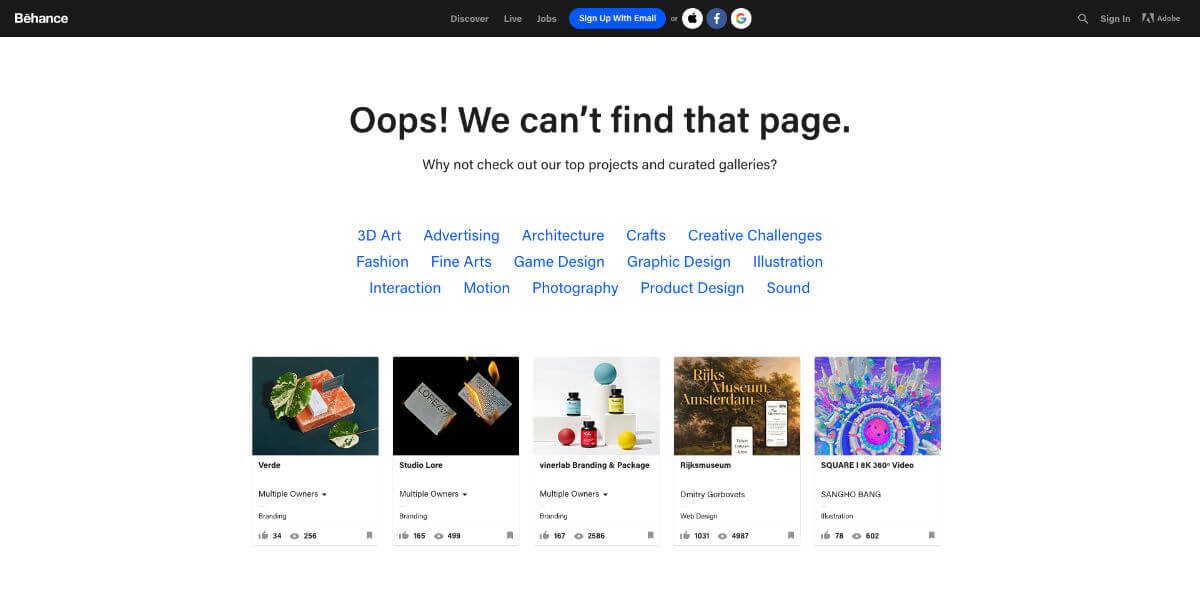
Even our busiest example from Behance’s 404 page keeps the page simple. Adding too much information and imagery distracts from the core purpose of your 404 page.
When your clients land, you want to tell them two things: why they are here and where they can go. Anything more than that will hurt your UX and the success of your website as a whole.
Get stunning UX that includes the perfect 404 page for your business with Web2Web.
From your home page to your 404 page, a successful business website needs to have every part of the UX performing at its best. This means fantastic design right from the beginning that has your future in mind so that it can scale with your brand. When you work with Web2Web, this is exactly what you will get. A team dedicated at making to making your UX work for your business. When it comes to creating or improving your website, chat to us and we can develop your digital future.